Database Visualizer
The Database Visualizer is an easy-to-use UI interface to easily view/modify/edit your application's database schema.
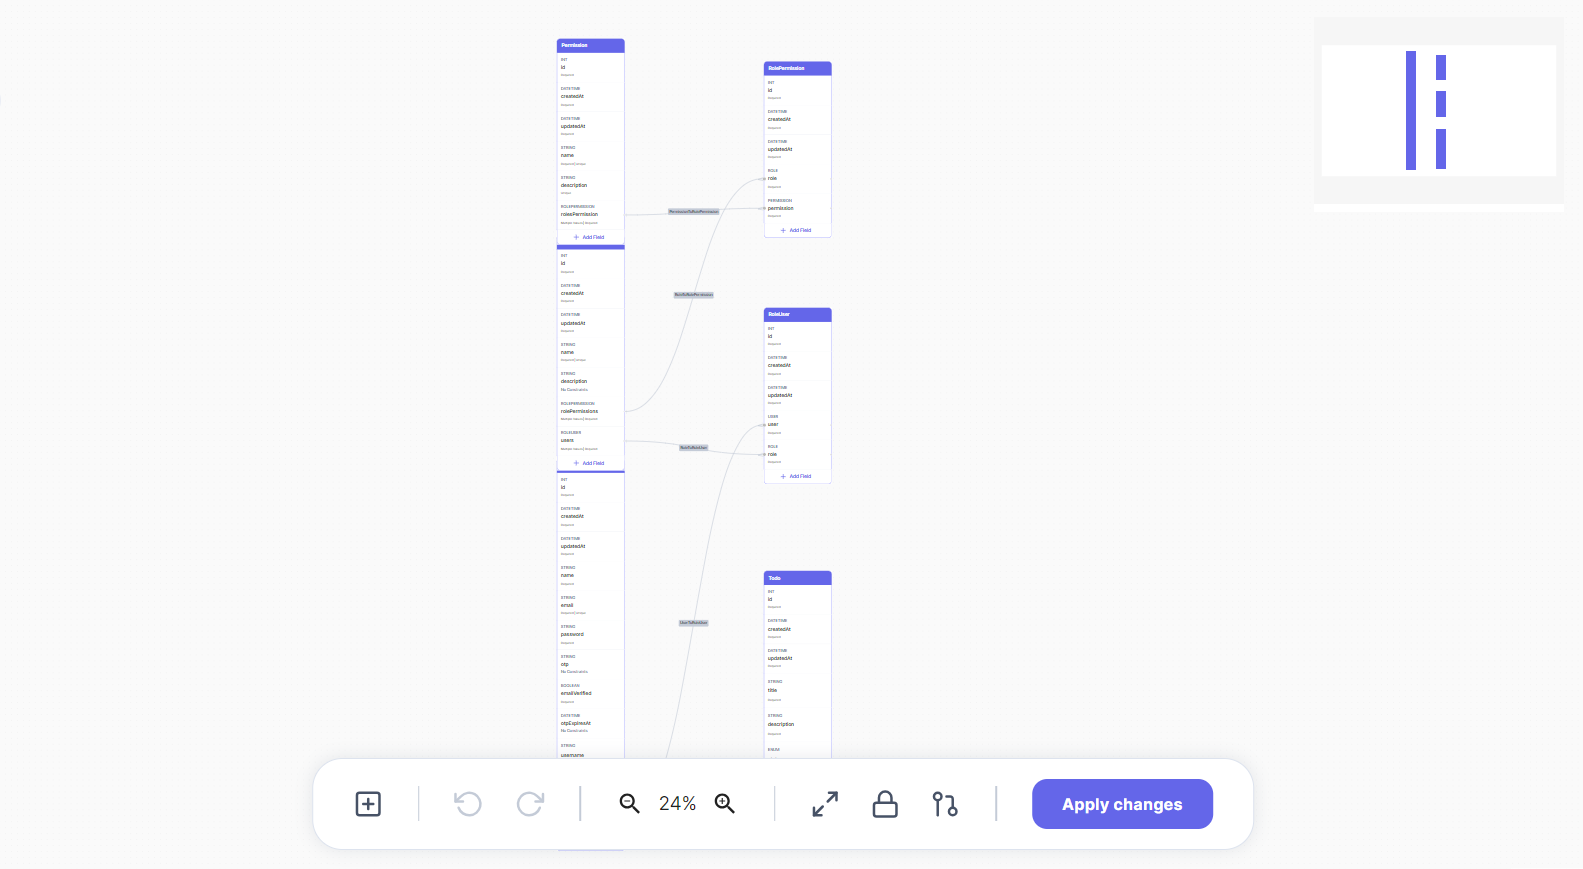
You are allowed to use the Database Visualizer after generating an application, it will contain a visual representation of your models/entities and the relations between those entities, although you aren't directly dealing with SQL when using the Database Visualizer it is worth mentioning that AppAsap uses PostgreSQL as its database.
Basics
First of all, you need to know that every generated application in AppAsap will contain a basic setup for authentication and roles/permissions for constraining certain actions and who can perform these actions, so you will always find that your application outputs a (User, Role, Permission, RolePermission) entities/tables in addition to any other tables that your application needs, the RolePermission table is just a junction table to represent a many-to-many relationship between the Role and Permission tables.
Entities / Tables
In this documentation, the term Entity is equivalent to a database Table and might get used interchangeably, each table in the database visualizer maps to an entity. For example, a table like this represents a todo entity.

Column Structure

- Column's type (
String,DATETIME,INT, etc...) - Column's name.
- Column's constraints (
Required,Unique)
Features
The Database Visualizer supports multiple operations:
- Creating new tables
- Adding new fields to an existing table (
String,Int,Float,Boolean,DateTime,Enum,Media) (Single Value or a List) - Creating new realtions (One-to-One, One-to-Many, Many-to-Many)
- Add field constrains (
Multiple Values,Unique,Required) - Rename tables, fields, or relations
- Remove fields, relations, or constraints
Creating New Tables
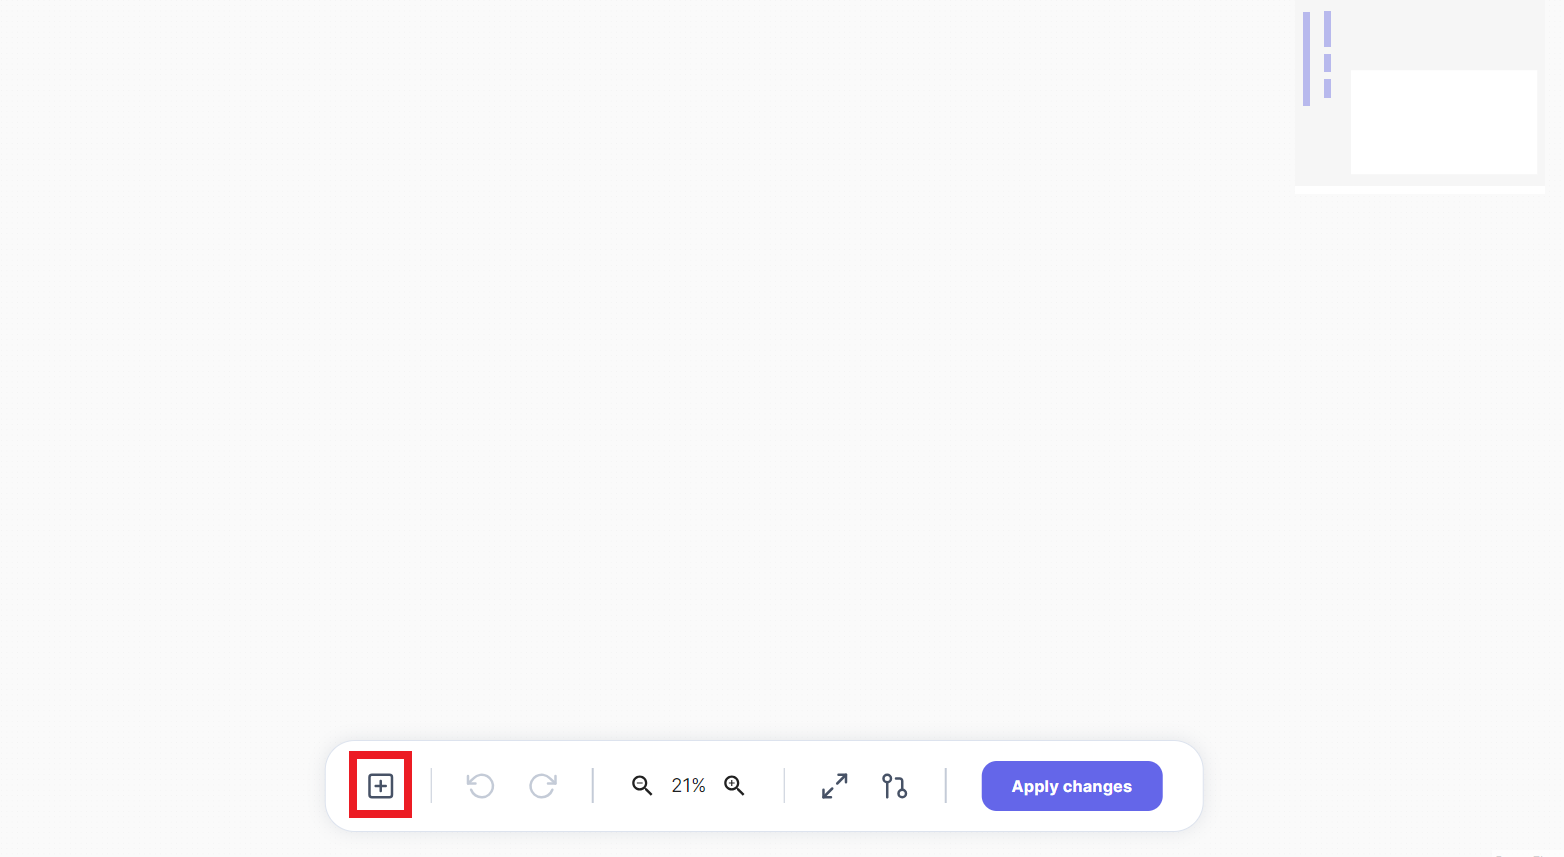
Use the plus icon button from the toolbar to create a new table with columns (id, createdAt, and updatedAt).
Adding New Fields
On any table, click on the + Add Field button to add new fields:
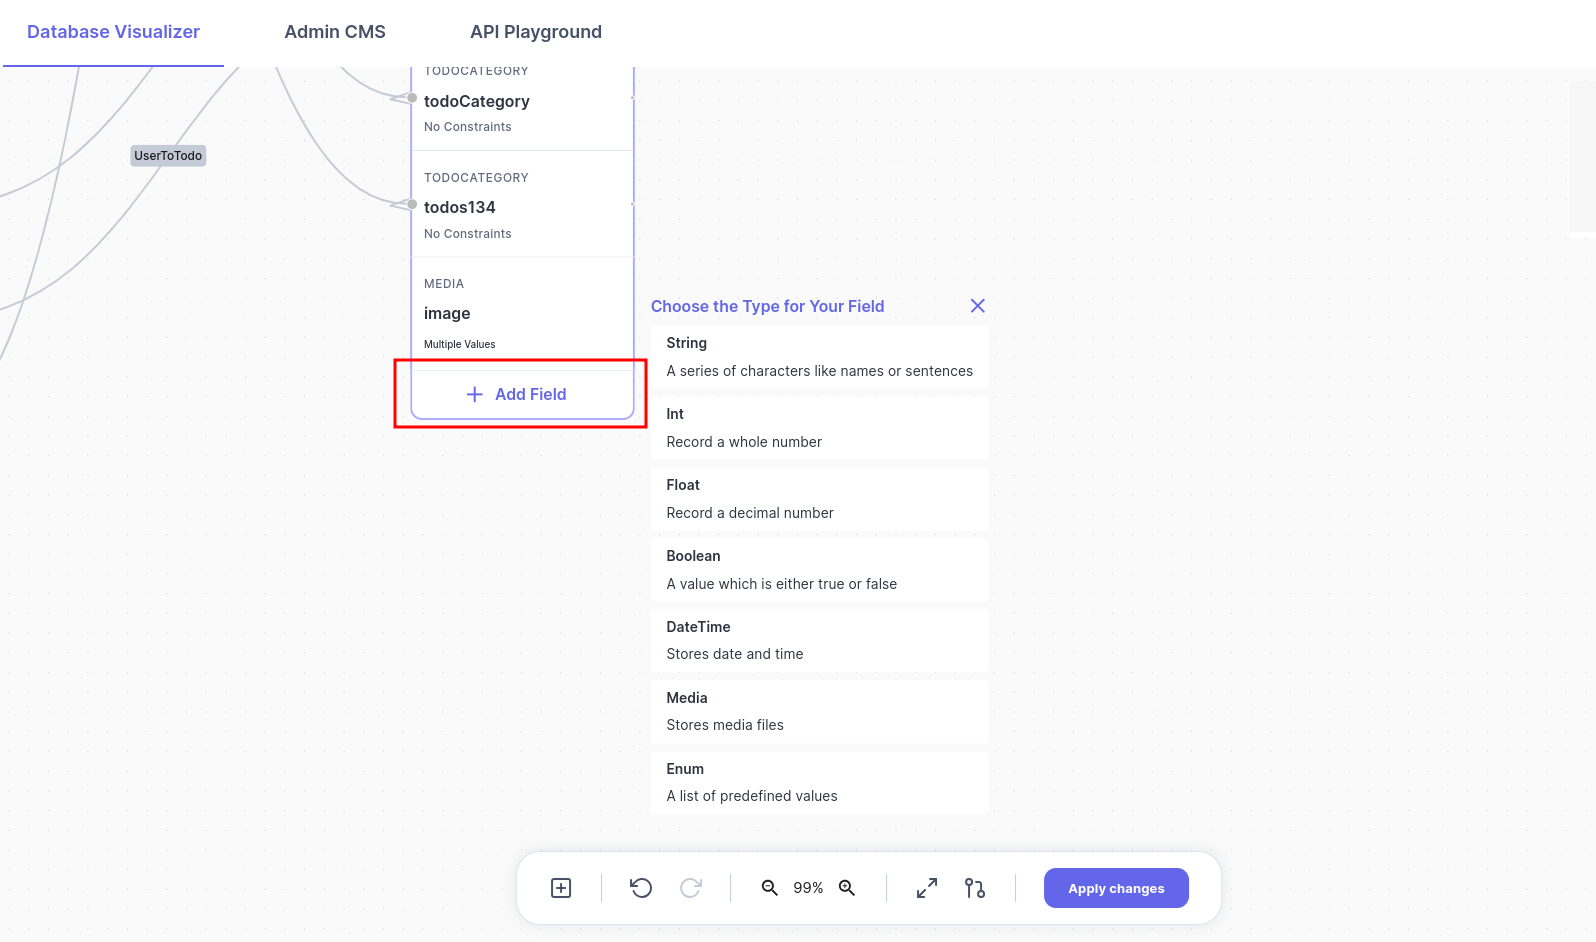
Choose the type of the new field, and that's it, you can also then rename the newly created column.
Adding Field Constraints
You can add three types of a field constraints (Multiple Values, Unique, and Required) by clicking on the small icon show below.

Then you can choose which constraints to add on your column:

- Multiple Values means that this column holds multiple values of its data type instead of a single value.
- Required means that this column is required and can't be ommitted.
- Unique means that this column is unique among all rows in the table.
Rename Tables, Fields, or Relations
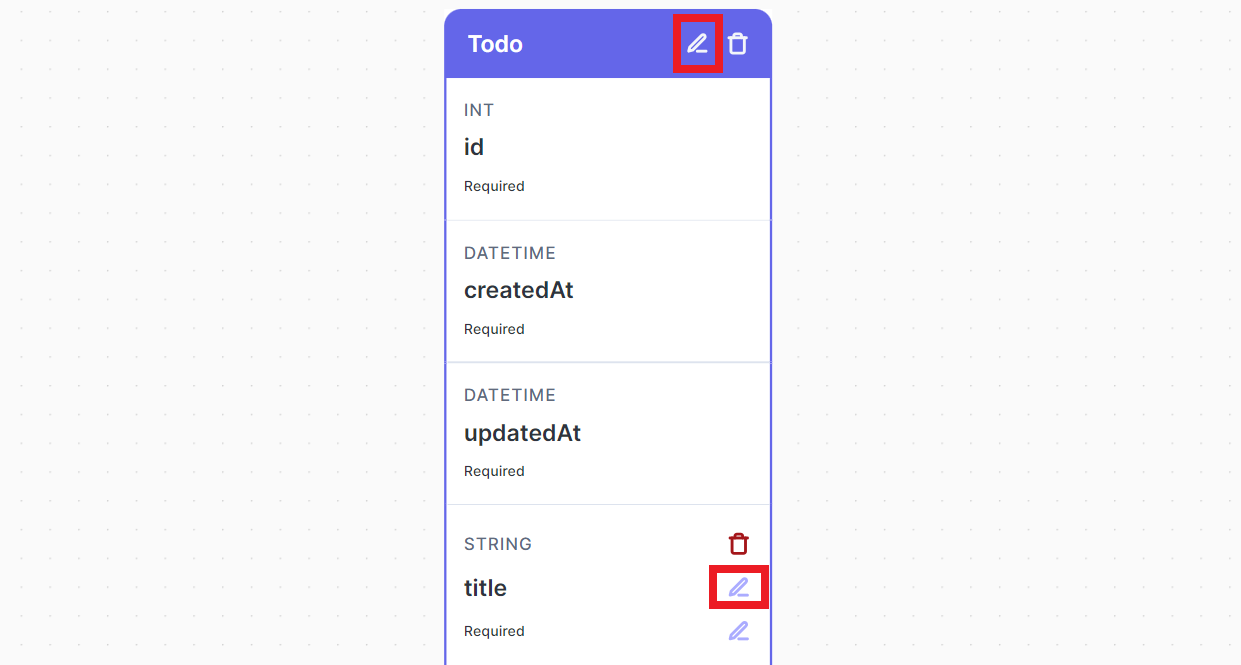
You can rename things by just clicking on the Edit Icon and start editing it.
Relations
How to create relations
You can create a realtion by:
- Move your mouse to the edge of any table.
- Left click and hold then start dragging your mouse out of the table.
- Drag the arrow that will appear and attach at to another table to create a relation between both tables.
One-to-One
Assume we have two tables like these (Car and Motor):
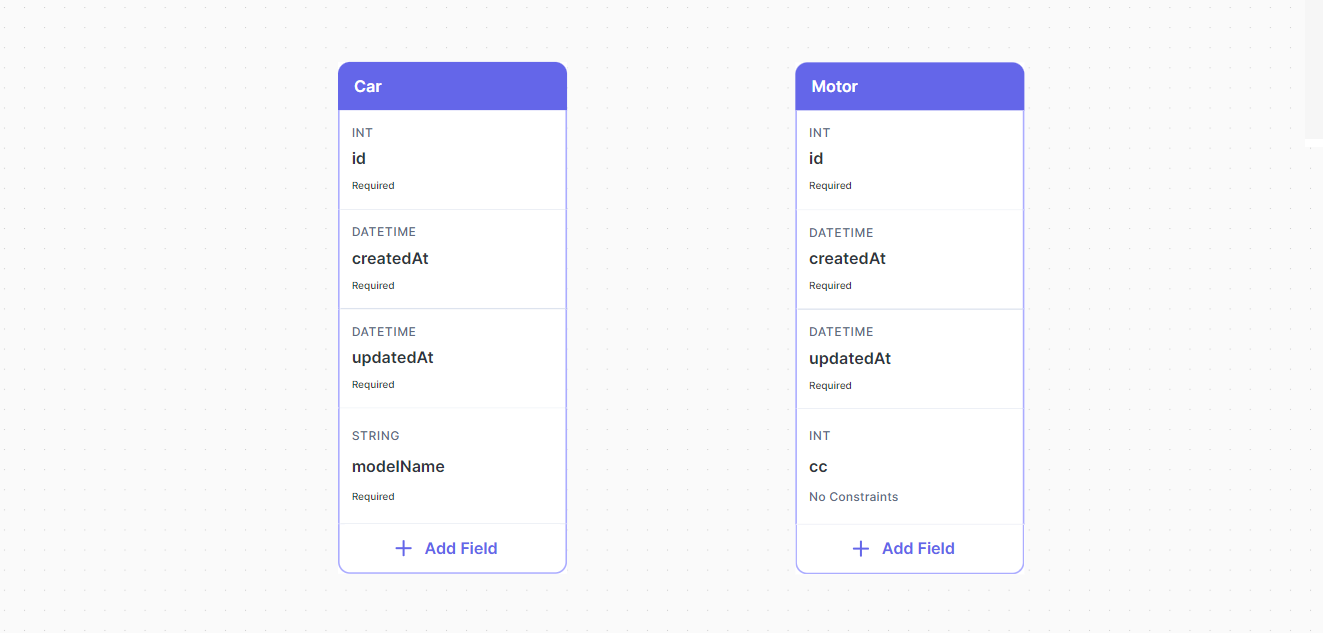
You can create a One-to-One relation between two tables by following two steps:
- Drag a relation from the Car table to the Motor table by left clicking and holding the edge of the table then connecting the line with the Motor table.
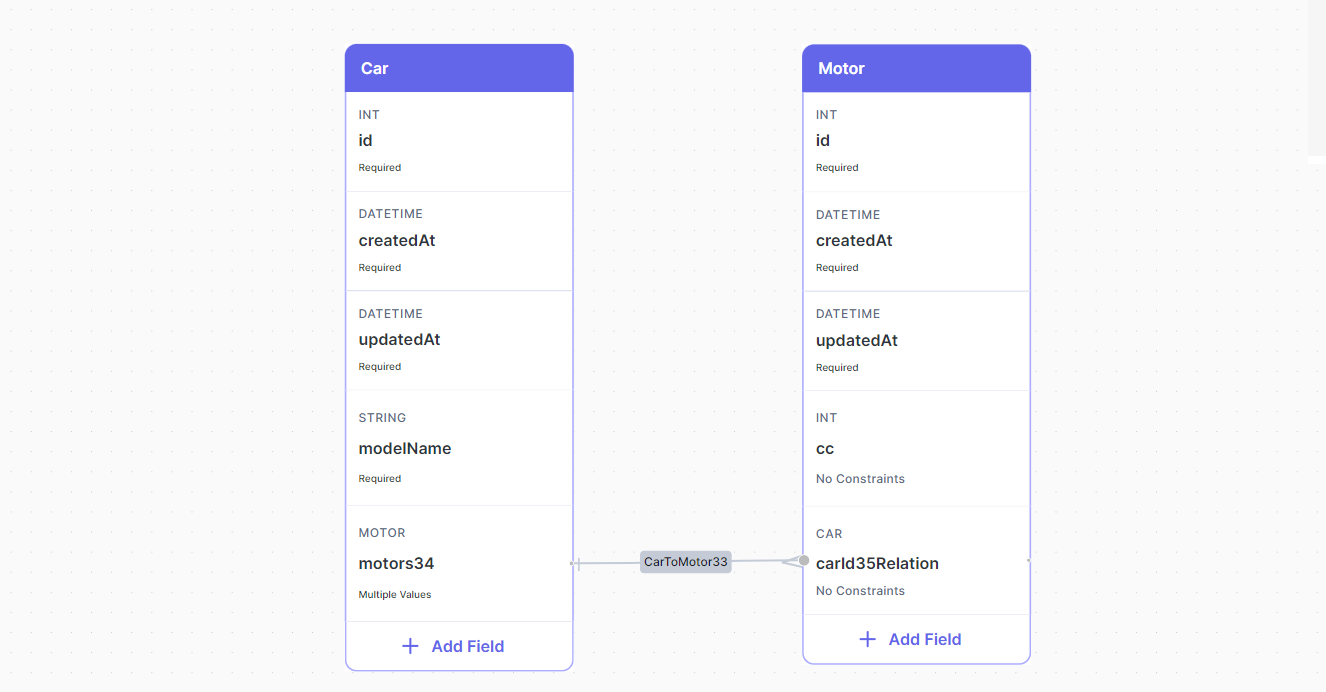
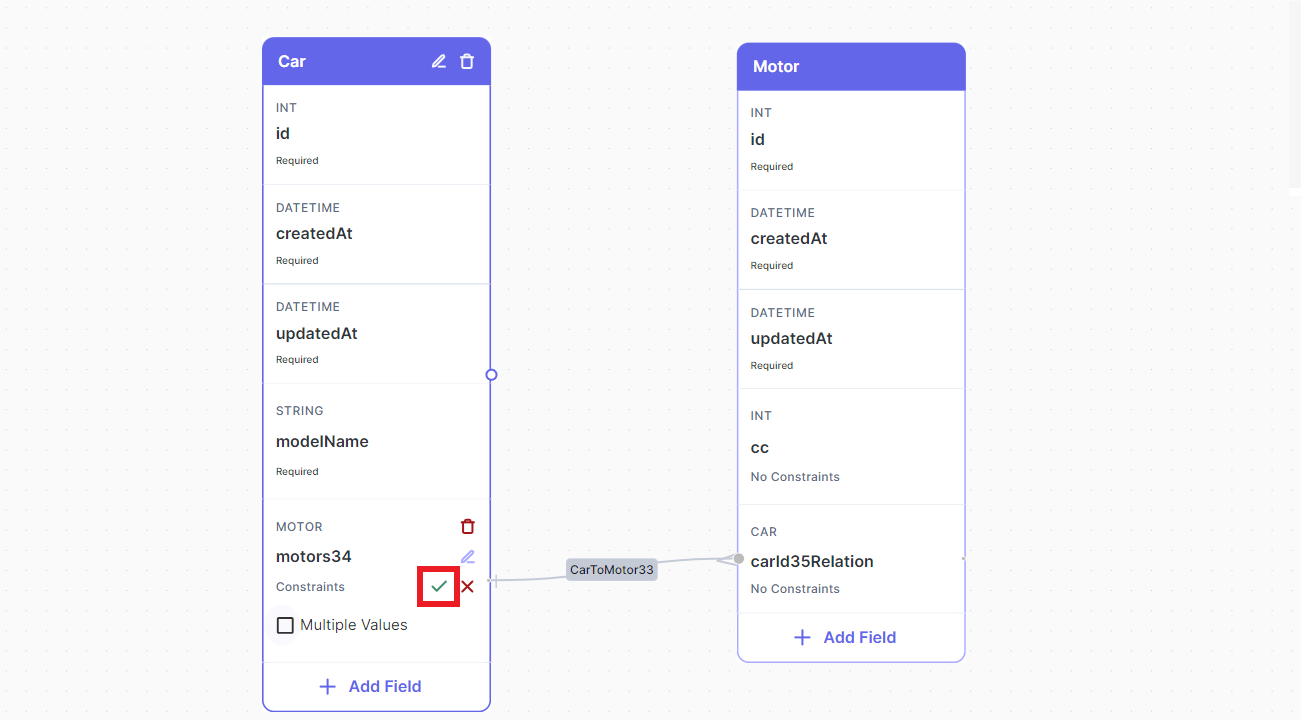
Note that the relation field motors34 has a Multiple Values constraint, you just need to remove this constraint.
One-to-Many
This is how a One-to-Many relationship looks like:
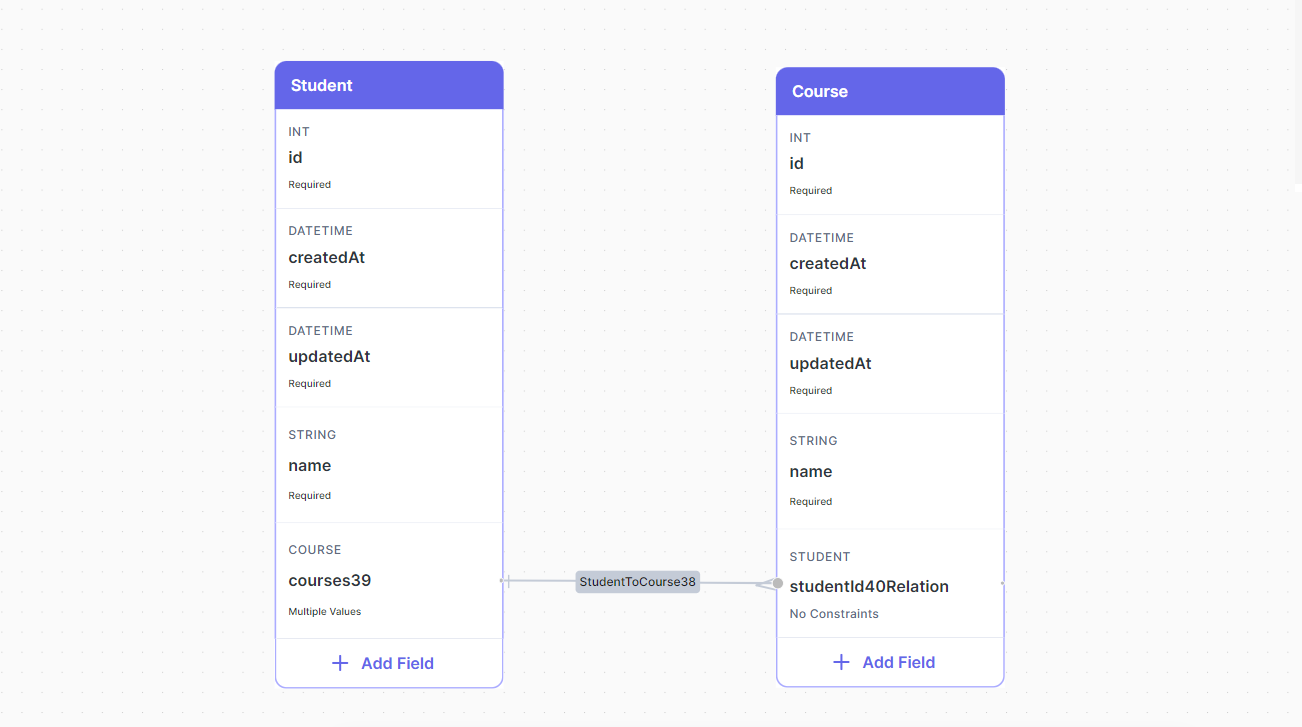
To achieve this just drag a relation (as we mentioned before) from the Student table to the Course table, which indicates by default a One-to-Many relationship between Student and Course.
Many-to-Many
There are two steps to create a Many-to-Many relationship between entities:
- Create a relation between
StudentandCourse(Make sure it saysMultiple Valuesin the constraints, which it should by default).
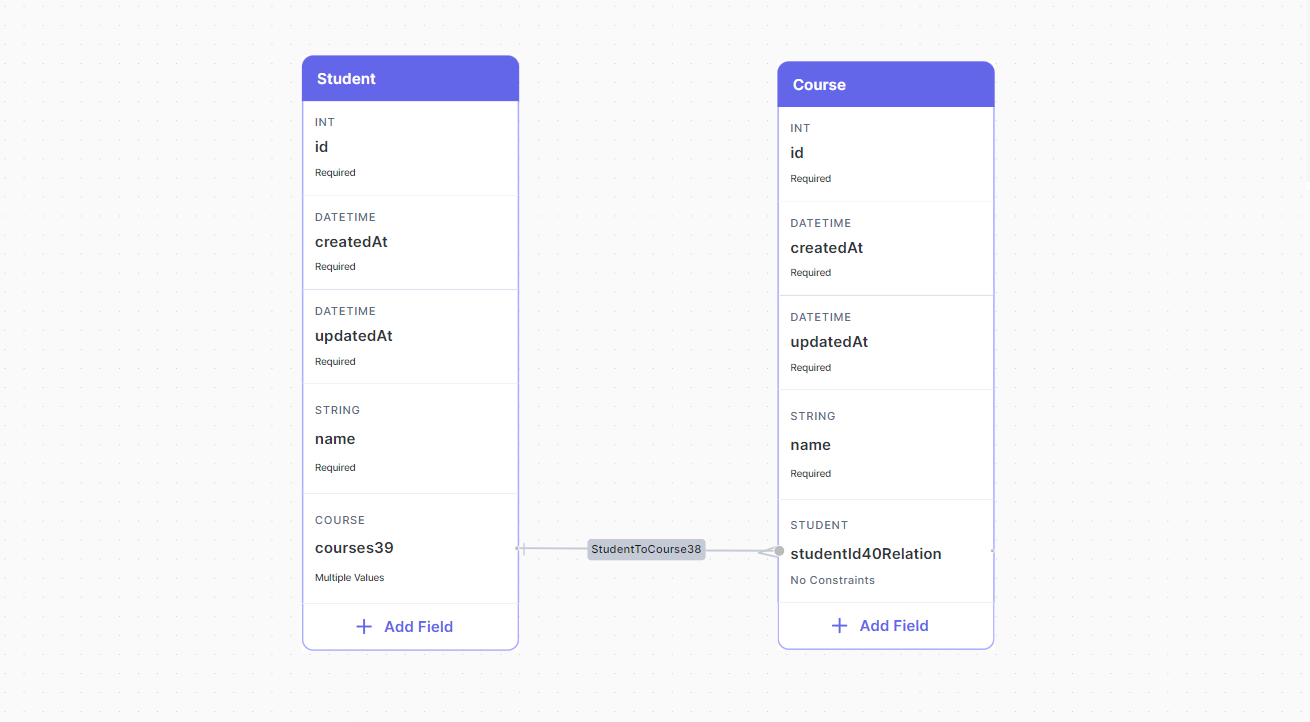
- Make the reverse Many relation from
CoursetoStudentfollowing the same way, the database visualizer is smart enough to know your intentions here and it will ask you if you mean to create aMany-to-Manyrelationship.
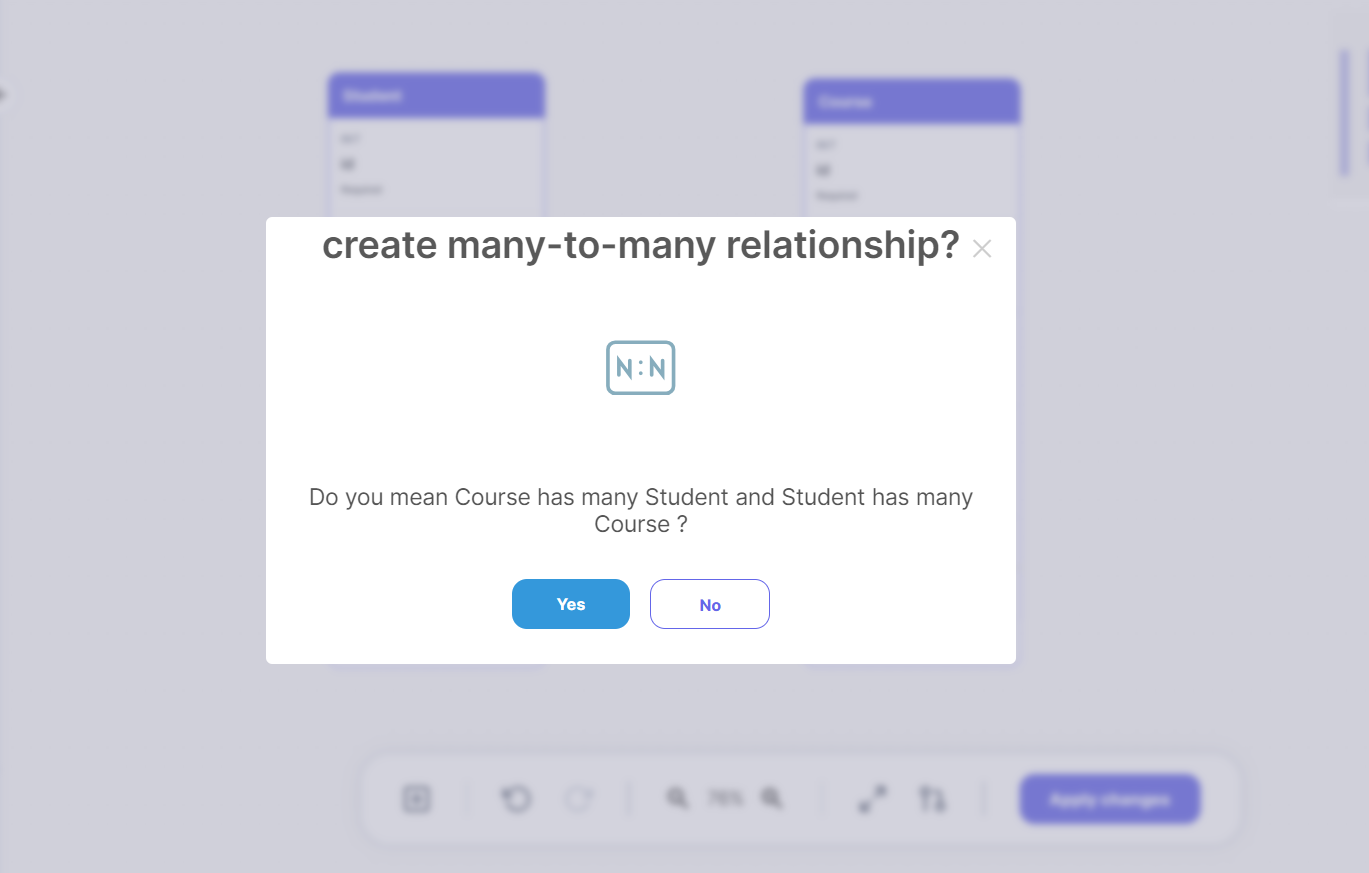
Click Yes and proceed.
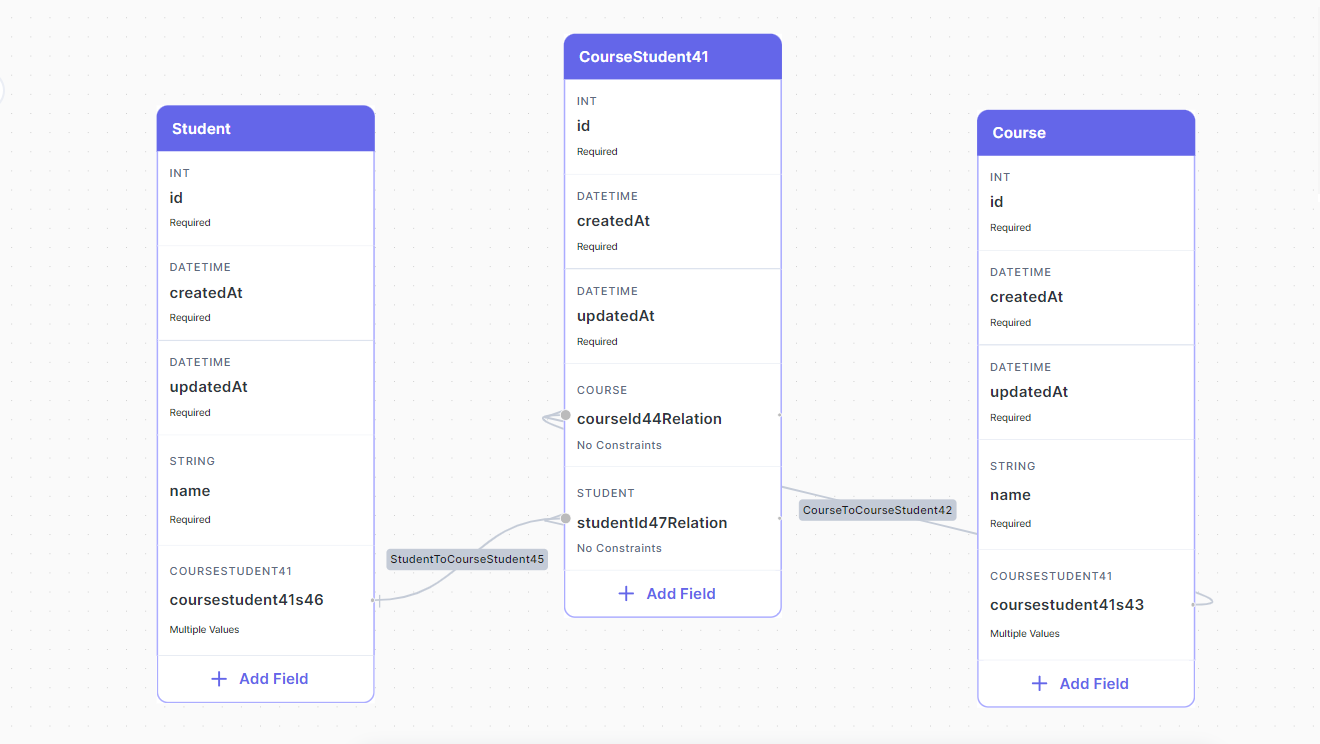
The database visualizer will automatically add for you a junction table and create the necessary relations so that the whole structure represents a Many-to-Many relationship.